
Let’s say you just set up a GA4 property for a client. You want to start tracking and reporting on metrics like:
- Page views
- Demographics
- Traffic sources
- Session durations
- Geographical data
- Ecommerce events
- Conversions
You need to install GA4 on your client’s website before you can start collecting all that data.
Here’s how to install GA4 tracking using Google Tag Manager, in 3 quick steps:
When you’re done, book a free call with us to set up conversion tracking on all your ad platforms.
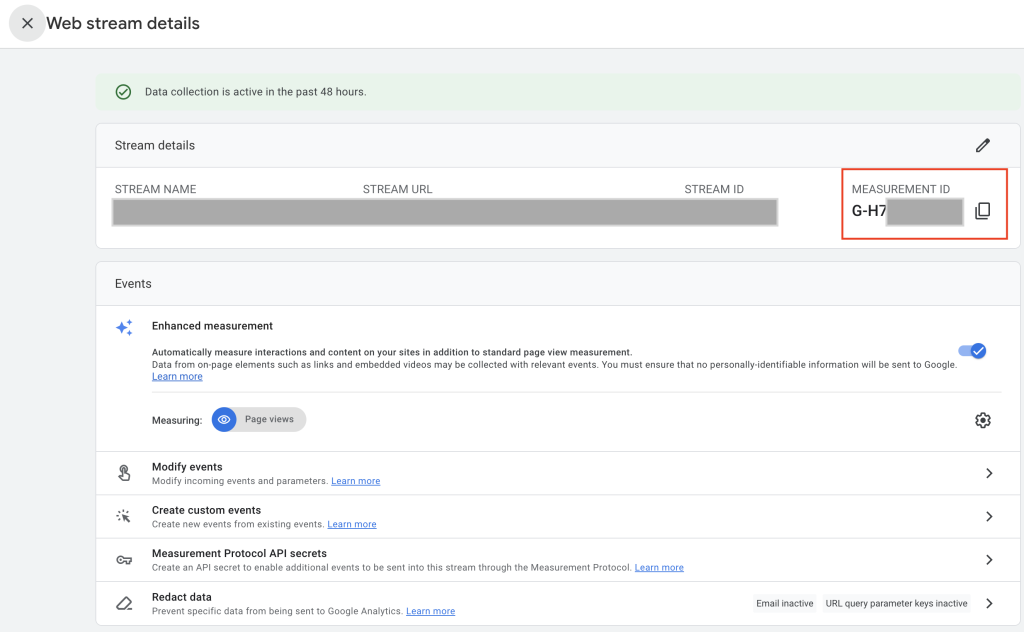
- Copy Your GA4 Measurement ID
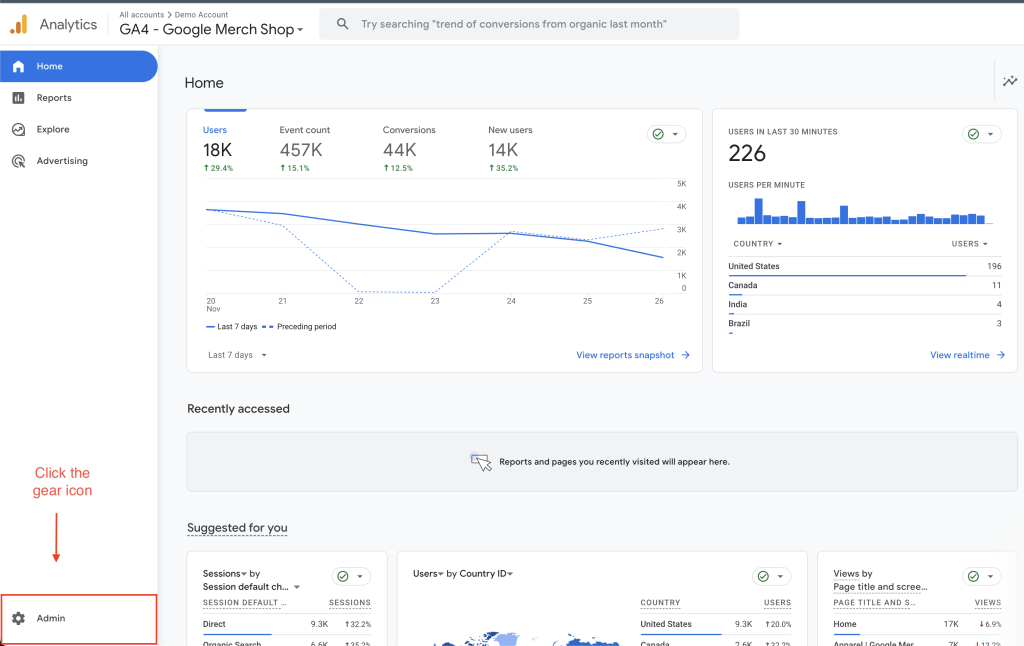
- Open your client’s GA4 property up.
- In the bottom left, click the gear icon. This is your Admin section.
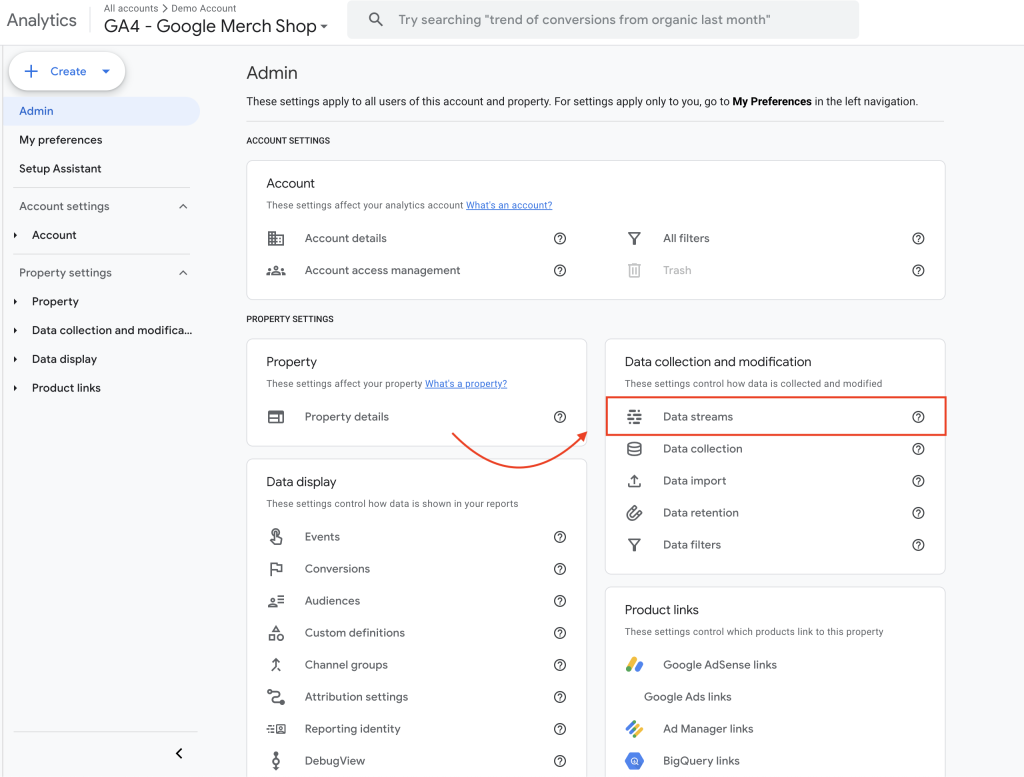
- In “Data Modification and Collection”, select Data streams.
- Select your client’s data stream.
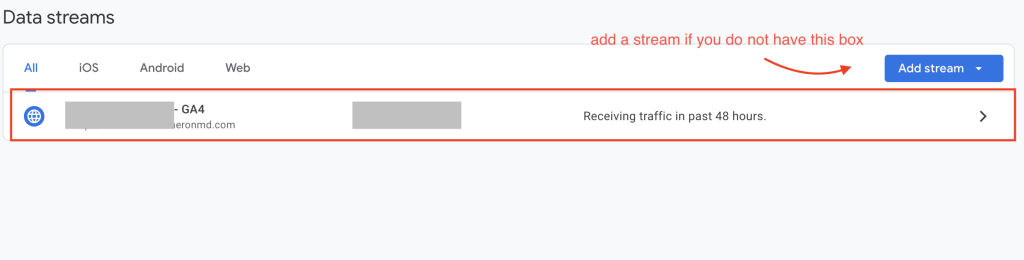
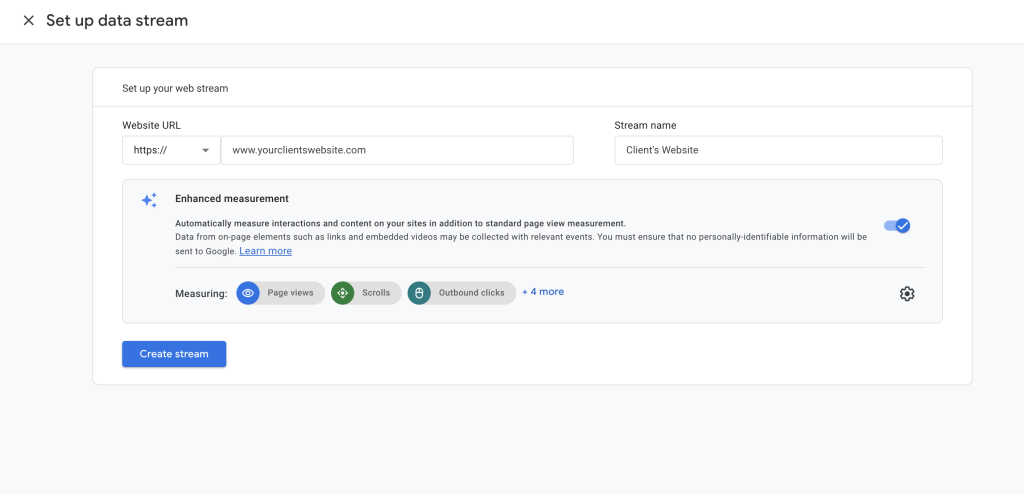
- If you don’t have a data stream yet, click “Add stream” for Web and create a data stream.
- Copy the Measurement ID of the data stream. We will now take this ID to Google Tag Manager.
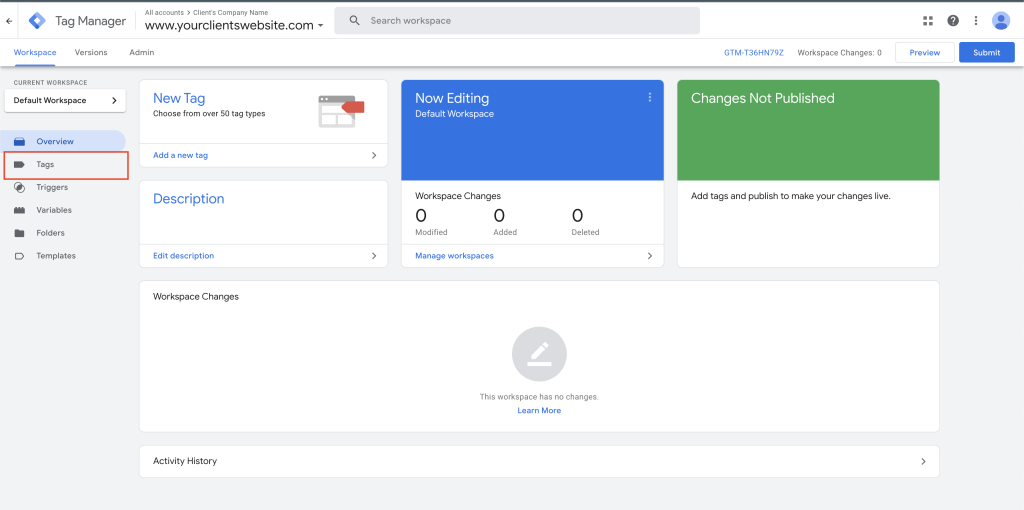
2. Connect your GA4 Property to Google Tag Manager
- Open your client’s Google Tag Manager workspace.
- If your client doesn’t have a Google Tag Manager account set up, create one.

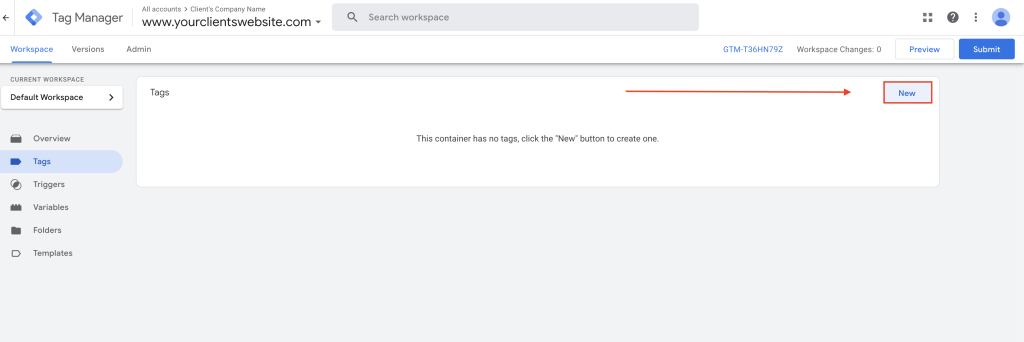
- Navigate to the “Tags” section of the workspace.
- In Tags, click “New”.
- If you do not see the “New” button, read the start of this tutorial to set up Admin access to your client’s container so you can create tags.
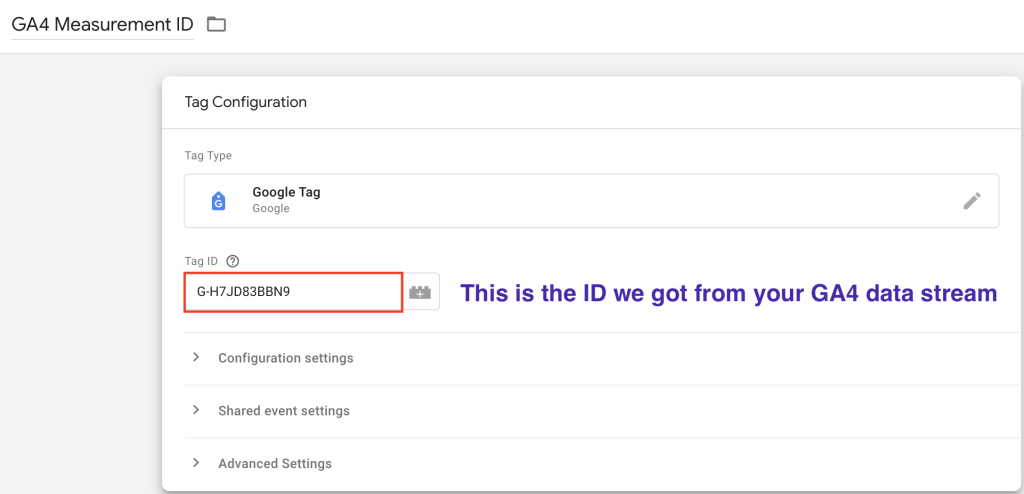
- Name your tag “GA4 Measurement ID”.
- Click the Tag Configuration box.
- Click Google Analytics → Google Tag.
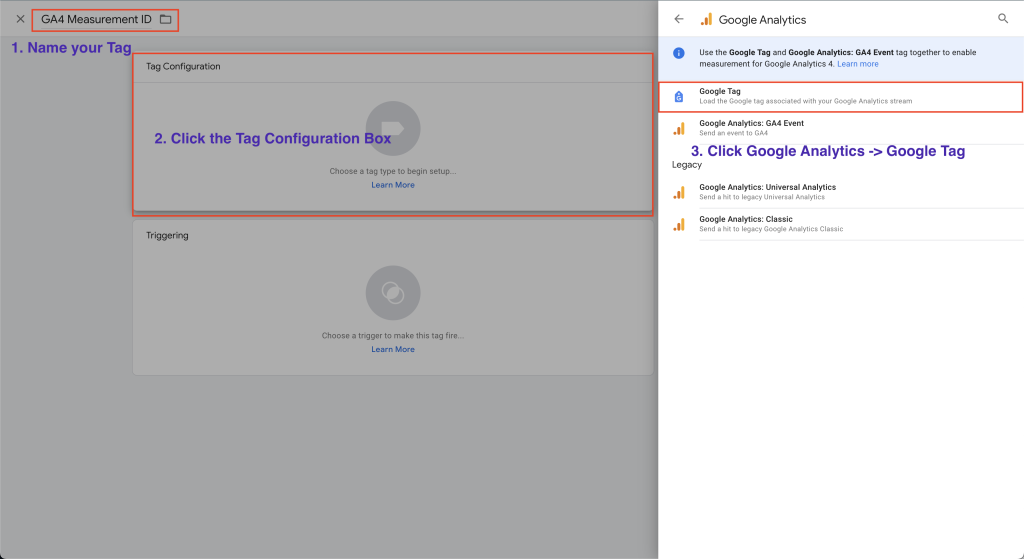
- Paste your Measurement ID into the “Tag ID” box. This is the ID we copied from your client’s GA4 data stream.
- Click the Triggering Box.
- Select “Initialization – All Pages” as the trigger type.
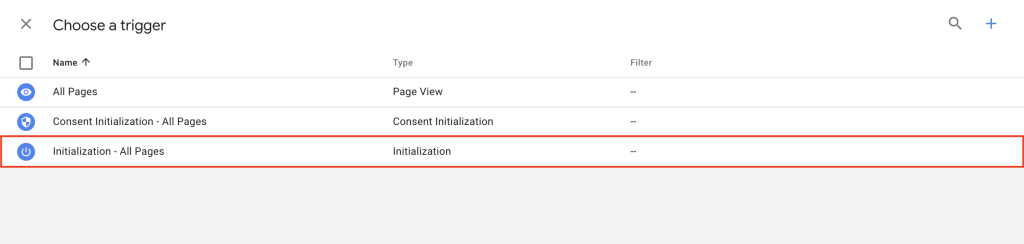
- This will install your GA4 property code on every page.
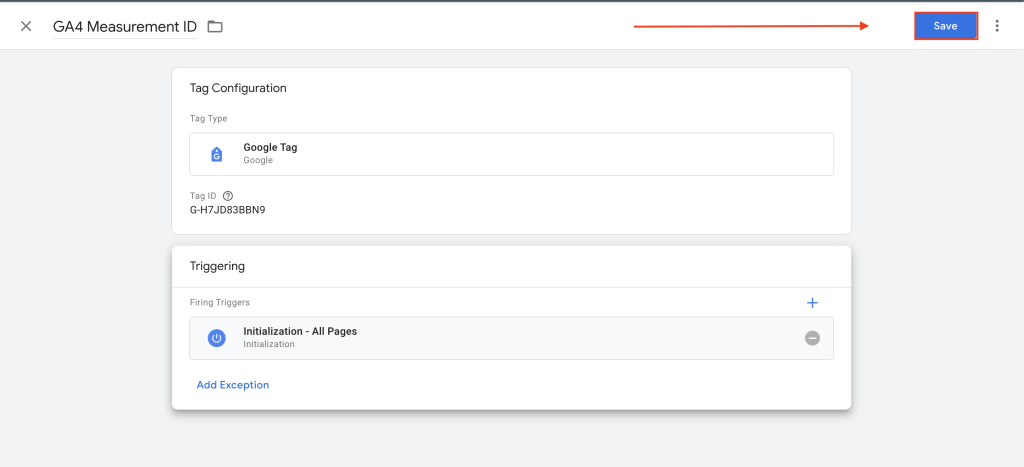
- Save your tag. This is what your final tag setup should look like.
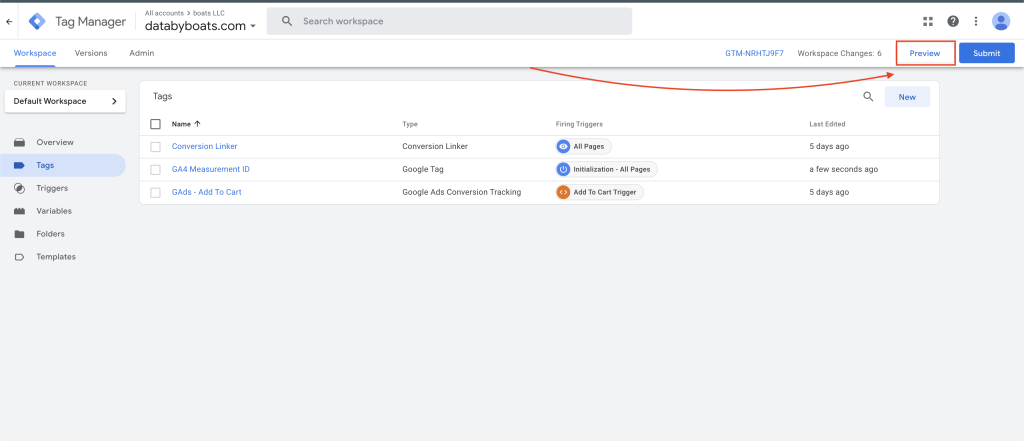
3. Test your Tag and Publish Your Container
Now, we need to make sure the tag works on your client’s site and publish our work.
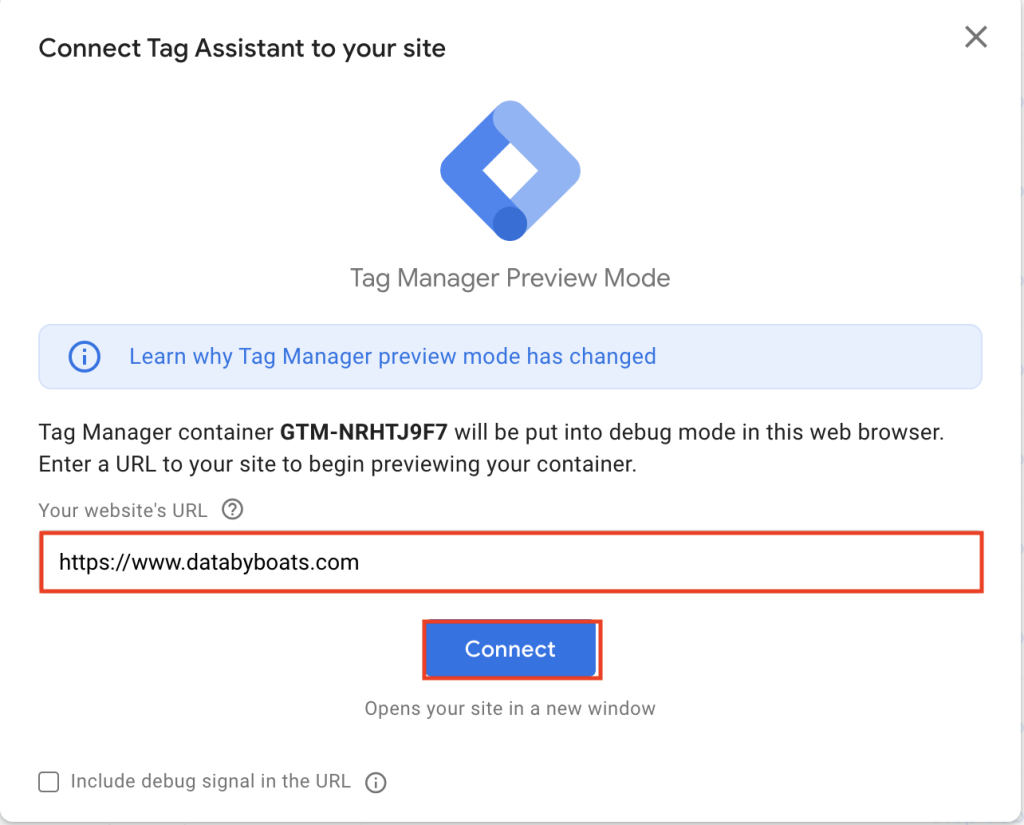
- Click “Preview” in the top right of your workspace.
- Enter your client’s domain into the URL box.
- Click Connect.
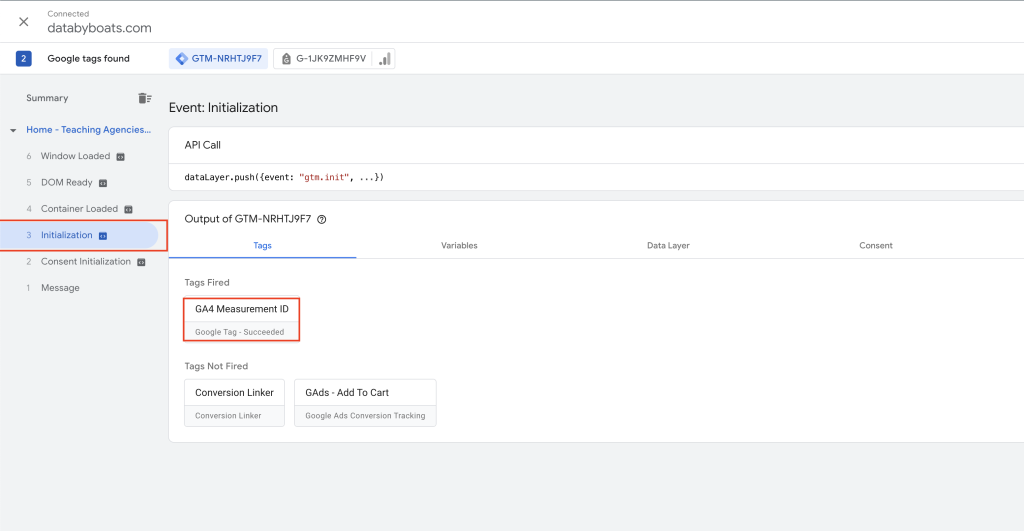
- Let your client’s homepage load.
- Navigate back to the “Tag Assistant” tab in your browser.
- Click the “Initialization” tab in the left column.
- You should see your tag under the “Tags Fired” section. This means it successfully installed on the home page.
If you see this error message instead, it means Google Tag Manager isn’t installed on your client’s website.

You will need to get the website’s developer or backend access to the website to add the Google Tag Manager on your client’s site.
- Watch this short YouTube tutorial for a 2-minute explanation on how to do this in WordPress. Here is a Shopify tutorial.
Lastly, you need to PUBLISH your container to fully install GA4 on your client’s website.
- Close Tag Assistant and go back to your client’s workspace.
- Click “Submit” in the top right corner, next to Preview.
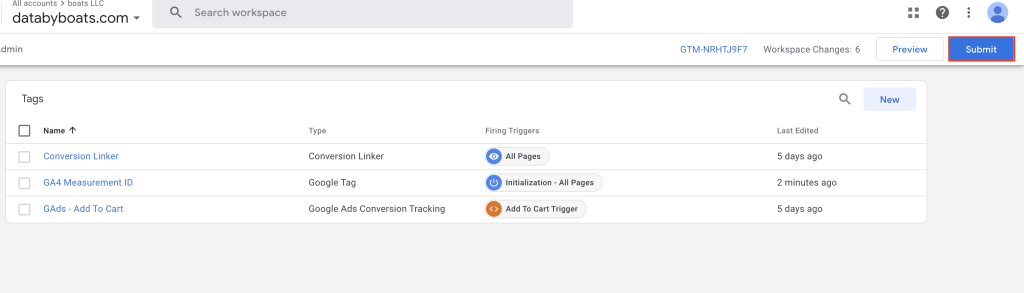
- Name your version and add a short description of what you did. This will help if you ever need to do version control in the future.
- CLICK PUBLISH. This will set your GA4 property and Google Tag Manager container live.

Within 24-48 hours, your client’s GA4 property should start collecting data and displaying it in reports.
That’s how you install GA4 on your client’s website using Google Tag Manager. Feel free to watch our YouTube video on how to install Google Analytics 4 onto a website using Google Tag Manager.
If you have any questions, let us know. If you need any kind of Google Tag Manager / GA4 help, book a free call with us and we can take a look with you.